背景
5月16日,也就是前天,我开始学习李辉的Flask入门教程。
目的很简单,由于花了一周时间学习Miguel Grinberg的The Flask Mega-Tutorial,在第四章“Database”上的时间有将近3天。我感觉自己的进度有些快,步子太大,终于扯到了。
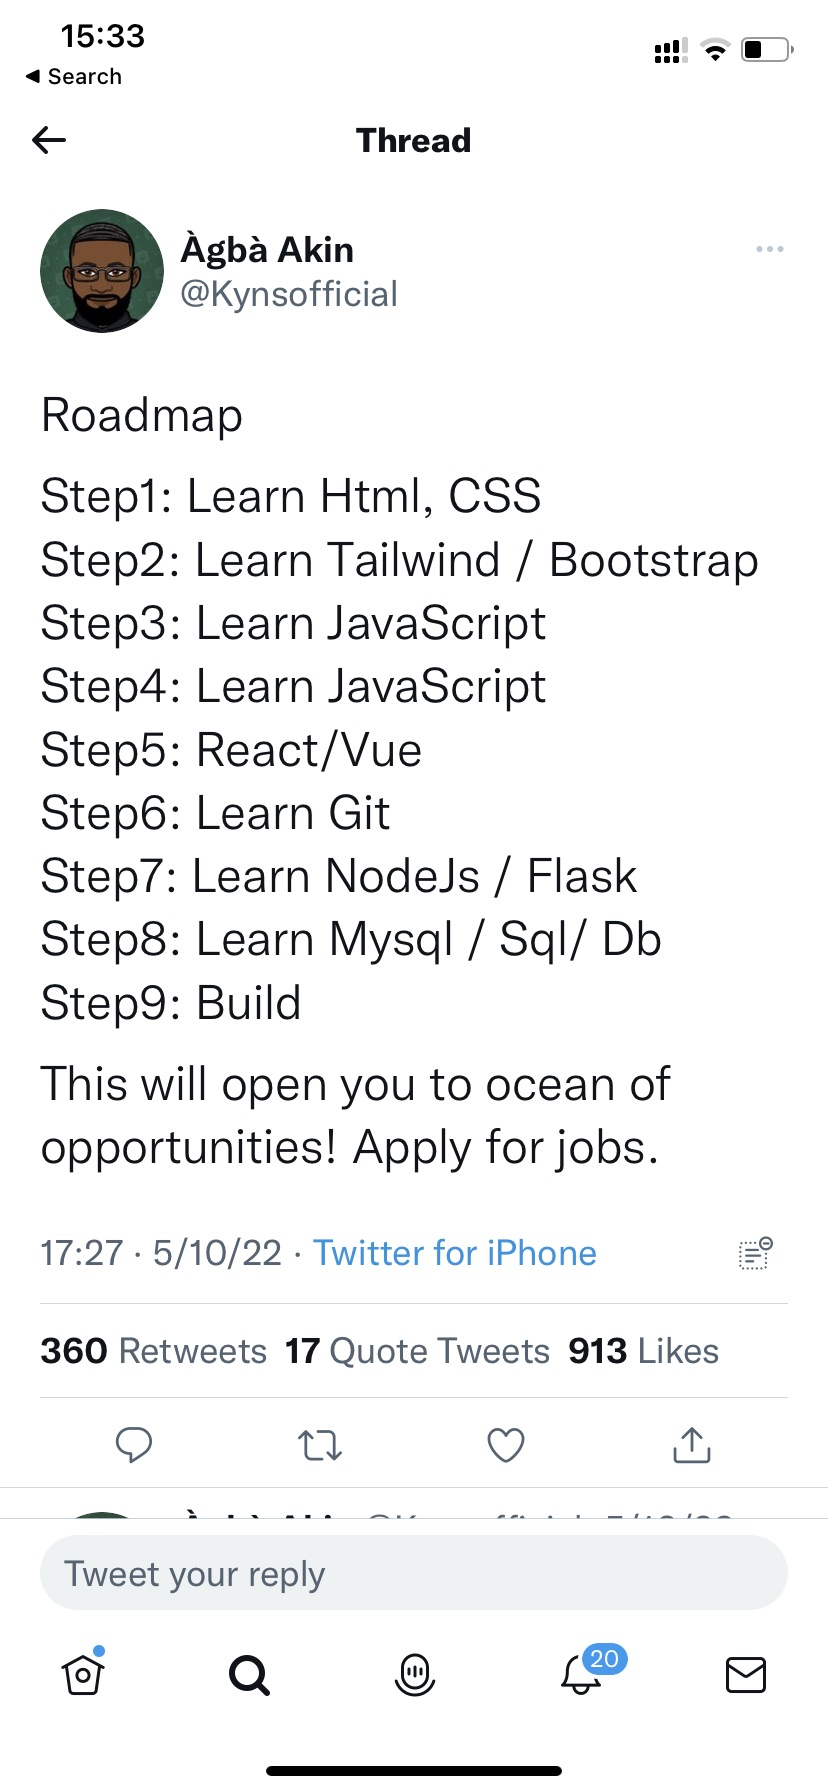
按照推特上这位大神的说法,要享受海洋般的码农的工作机会,要经历9层磨难:Flask是第7层,Database是第8层。
在第8层滞留许久后,我开始采用李辉的教程,这个教程恰好与Miguel Grinberg的教材在部分知识点上互补。比如【Mega-Tutorial】介绍使用git时,仅仅介绍了git clone命令,方便读者不用逐行敲代码,而【Flask入门教程】对git的介绍就更实用,从git repo的建立开始,包括如何管理自己的git hub页面。
使用git完成watchlist项目后,依葫芦画瓢,我在microblog的项目上也使用了类似命令,但是问题就发生了:
22-05-18/Users/xxxxx/study/test~%>git branch -a
*flask
master
似乎自己就被困在了【Mega-Tutroial】的怪圈里,我估计原因是使用git clone后,默认的分支就是flask,而不是自己新建的master分支,而且无法删除flask这个主分支。
最直接的办法,是新建了一个test目录,在这个目录下把所有文件拷贝到flasktest下面,对原来的内容覆盖掉。
cp -rf flasktest/. test
然而,除了主branch变成master外,一切照旧。
问题现象与分析
现象
我开始就认为是权限问题,“access rights”。
22-05-18/Users/XXXXX/study/flasktest~%>git pull
ERROR: Repository not found.
fatal: Could not read from remote repository.

Please make sure you have the correct access rights
and the repository exists.
所以把努力方向放在如何优化授权上面,比如把私钥再增加一次:
ssh-add ~/.ssh/id_rsa
22-05-18/Users/XXXXX/study/flasktest~%>ssh-add -l
3072 SHA256:n9EHVCpvMuEfdkajdfkajfdkjakdfjakjdfak//Q5pbok XXXXXXXX@dfjakjdfjdfajdfa (RSA)
分析
由于告警信息中也出现了“no work tree”,网上有类似分析说这是bare repository:
The direct reason for the error is that yes, it’s impossible to use git-add with a bare repository. A bare repository, by definition, has no work tree. git-add takes files from the work tree and adds them to the index, in preparation for committing.
尝试去除bare:
git config --unset core.bare
也有意见说,在git的配置文件里,把origin相关信息都屏蔽掉:
22-05-18/Users/xxxxxxxxx/study/test/.git~%>vi config
[core]
        repositoryformatversion = 0
        filemode = true
        bare = false
        logallrefupdates = true
        ignorecase = true
        precomposeunicode = true
#[remote "origin"]
#       url = git@github.com:xxxxxxxx/flasktest.git
#       fetch = +refs/heads/*:refs/remotes/origin/*
#[remote "origin"]
#       url = git@github.com:xxxxxxxx/flasktest.git
#       fetch = +refs/heads/*:refs/remotes/origin/*
[remote "origin"]
        url = git@github.com:xxxxxxxxx/flasktest.git
        fetch = +refs/heads/*:refs/remotes/origin/*
问题解决
折腾了2天,最后只能盯着屏幕告警,突然发现“and the repository exists”,这句话提醒我,是不是这个repo根本就没有创建成功过?
立即上github,手动创建repo。
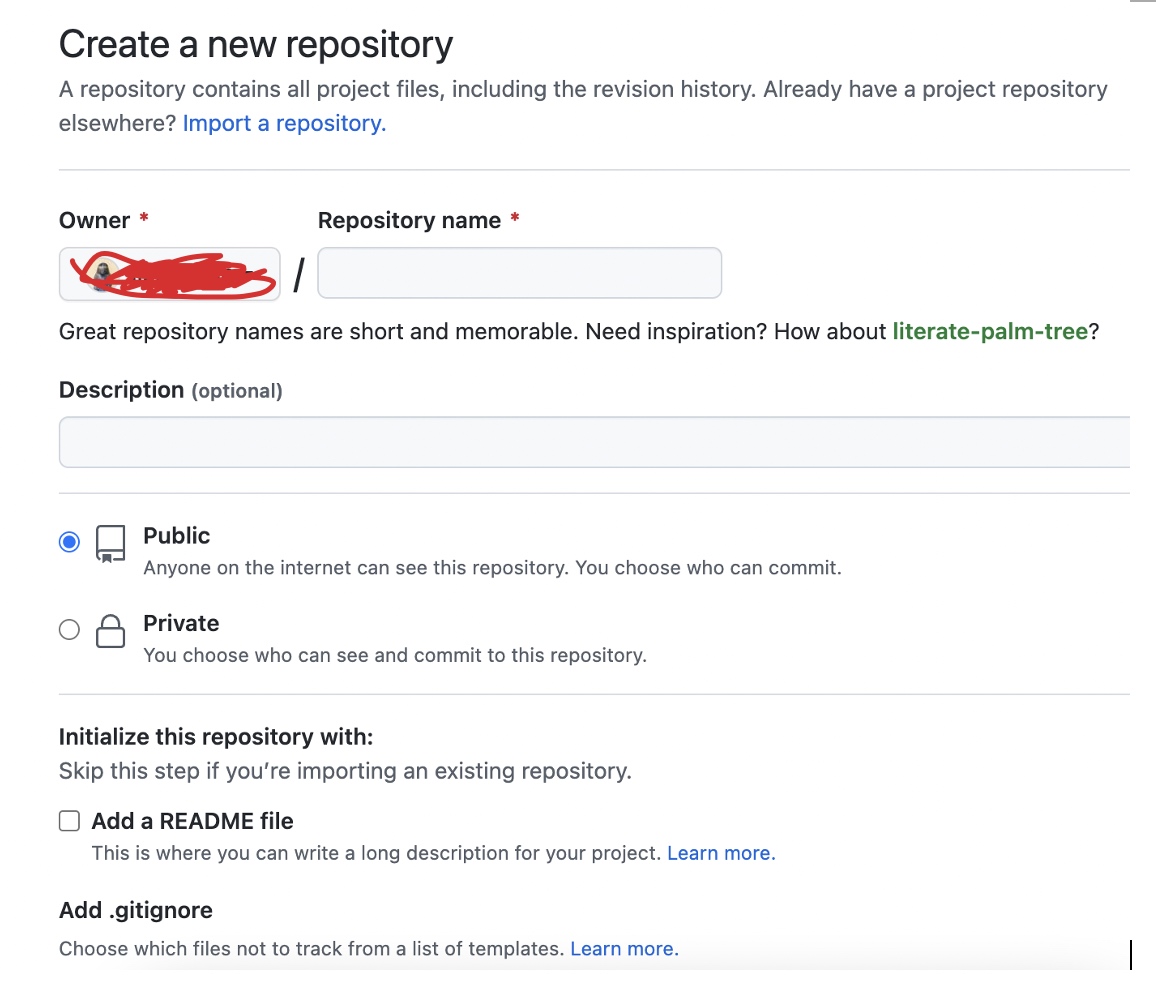
然后一切水到渠成
22-05-18/Users/xxxxxx/study/flasktest~%>git branch -a
* master
  remotes/origin/master
反思
- 想当然认为,repo是通过git命令行来建立的,因此不断的假设flasktest.git已经建立好了;
- 并没有认真对待git,git的培训教程也没有认真学习。