使用np.random.randint生成了数组,但是没法像读取图像后生成的数组,使用plt.show显示图片显示如下错误(估计使用pil图像也是如此)
> Unsupported depth of input image:
>     'VDepth::contains(depth)'
> where
>     'depth' is 4 (CV_32S)
初步分析,应该是与数据类型相关
对比imread与randint生成数组的数据类型
首先,我们看使用randint生成的数组数据类型
img4Random = np.random.randint(0,256,1200,dtype= 'i')
bgrImg4Random  = img4Random.reshape(20,20,3)
这里生成的数组,每个元素的范围是从0~255,但是数据类型是int32(dtype=‘i’)
print(bgrImg4Random[0,0])
print(bgrImg4Random[0,0,0])
print(bgrImg4Random[0,0,1])
print(bgrImg4Random[0,0,2])
type(bgrImg4Random[0,0,2])
显示结果如下
[ 20 103  51]
20
103
51
numpy.int32
如果省略dtype参数,默认数据类型是int64
img4Random = np.random.randint(0,256,1200)
显示结果如下
numpy.int64
现在我们看看从jpg生成的数组情况,如下
img1 = cv2.imread("ls.jpg")
print(img1[0,1,0])
type(img1[0,0,0])
数据类型是 unit8,也可以用print(image1.dtype)来显示数据类型
33
numpy.uint8
转换数组的数据类型
使用np.unit8或者astype两种方式都可以进行转换到unit8
bgrImg4Random  = img4Random.reshape(20,20,3)
#bgrImg4Random = np.uint8(bgrImg4Random)
#bgrImg4Random=bgrImg4Random.astype(np.uint8)
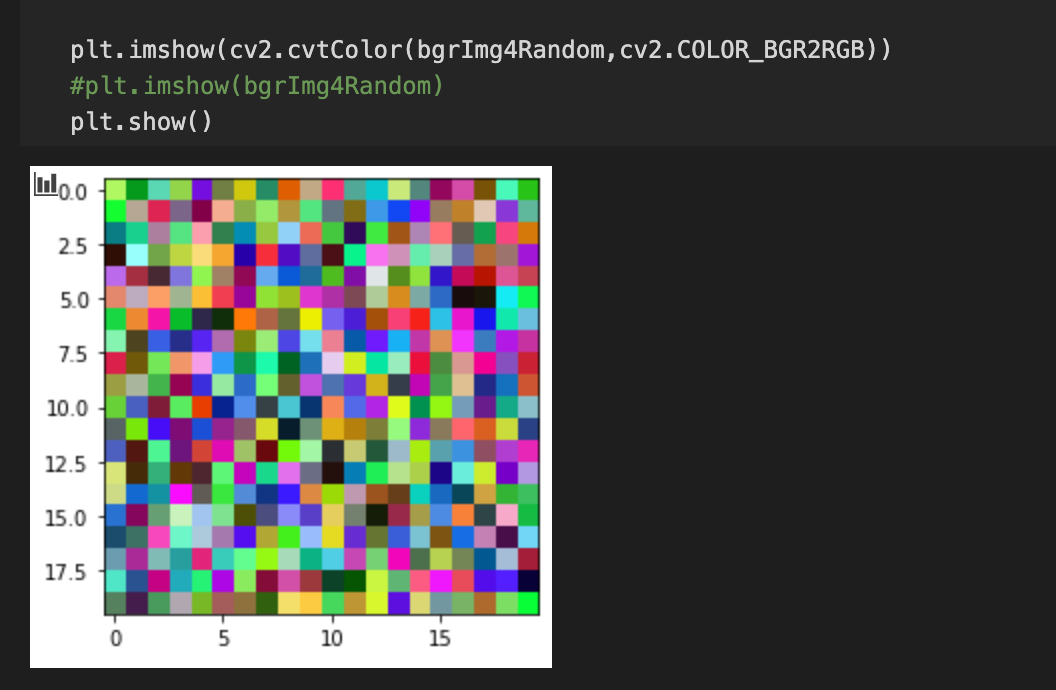
图像显示出来了,随机的3通道图像,20*20个像素
参考
数据读入就是unit8,使用np.unit8转换,这里介绍了pil图像,暂时我没有使用过;
解释opencv灰度图和RGB图数据类型,int是32位,而8位就足够了,采用int会浪费存储空间。
介绍opencv处理图像使用unit8